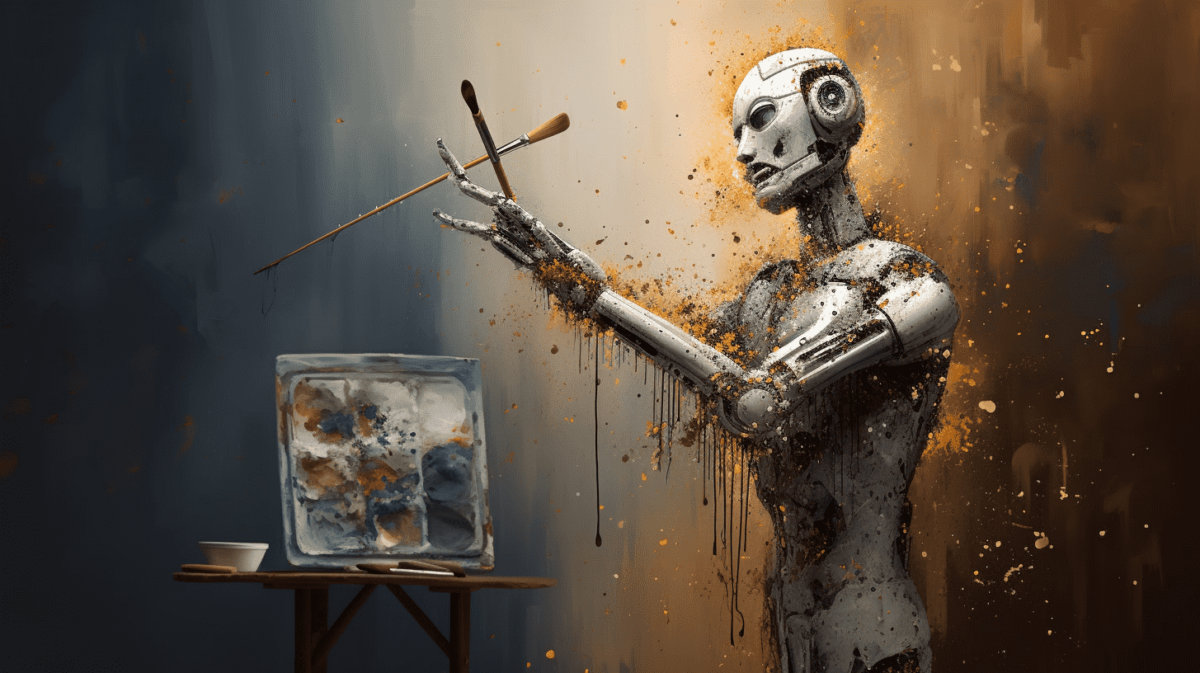
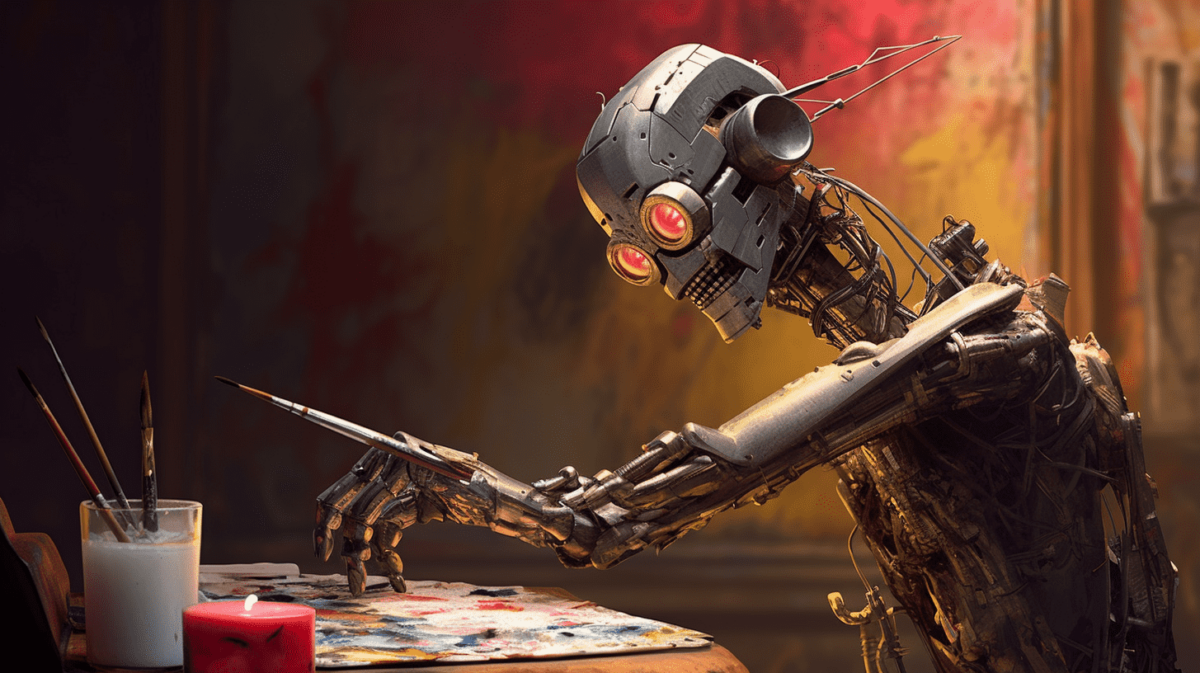
Producing AI-powered artwork is now within everyone’s reach, thanks to innovative platforms like Midjourney, a standalone AI art application that turns textual cues into visual content. This incredibly powerful tool leverages the capabilities of artificial intelligence and machine learning to produce distinctive works of art in response to a user’s written instructions.
Midjourney has become a favorite of the NFT community for its ability to bring otherworldly ideas and images to life in a relatively intuitive creative workflow. To begin your journey through the world of AI-powered art, here are 5 fundamental steps you need to follow to access and use Midjourney.
Step 1: Register on the Midjourney Server via Discord
Midjourney is accessible to all Discord account holders. First time on Discord? Your first move is to create an account. Once your account is up and running, navigate to the Midjourney website and select the “Join the Beta” option to receive their direct invite. Click “Accept Invite” to join the server. You’re ready to go!

Step 2: Learn the rules of engagement
AI may be the Wild West, but there are still some rules! After joining, it is important that you understand the community rules and terms of service. After all, you don’t want to be suspended, do you? It’s also important to note that Midjourney offers up to 25 searches for free. Once you’ve used your free searches, you’ll need to choose from a range of plans to continue using the generator.
Step 3: Access a bot channel and create your first piece of art
To create your inaugural AI artwork, you’ll need to access a bot channel dedicated to newcomers. Within the Midjourney server, choose a “Newbies” channel from the sidebar. Then enter “/imagine” in the message bar along with your creative prompt and hit “Enter” to submit your guideline. It takes a while for the bot to generate four visual representations based on your prompt. At first you may only see abstract color patterns, but the images will gradually become more defined.
Writing fast is a skill in itself! To get the image you want, it is critical to understand vital aspects such as artistic style, color scheme, lighting and layout. The order of words in your assignment also affects the outcome. Therefore, it is recommended that you prioritize essential parts at the beginning of your instruction and add additional details later.
By mimicking different art styles, you can write better prompts and create more visually appealing images. For example, try telling Midjourney to make “in the style of” one of your favorite artists. In the same way that an artist keeps a diary of creative concepts, gathering ideas for AI art prompts can be beneficial to you. Consider writing down color schemes or highlighting illustrative text. The world is your oyster!

Step 4: Refine your image
After the artificial intelligence powers have given you four images, you can go one step further and improve one of the selected images or generate additional variations using the buttons below the images. To enhance an image, use the first row of buttons below the image grid and click U1, U2, U3, or U4, corresponding to the image you want to enhance. Displeased? No problem. If you want more versions of a particular image in the grid, locate the second row of buttons below the grid and press V1, V2, V3, or V4, corresponding to the image you want the bot to reproduce. The bot generates four new images. It’s important to remember that each “/imagine” prompt, enhancement, and variation will consume one of the 25 free opportunities offered when participating in Midjourney. It can sometimes take quite a few iterations to find the one!
Step 5: Immortalize your artwork
Okay, so you’ve created your masterpiece and you’re ready to share it with the world. What now? Well, you can save the image directly to your computer by clicking on the image to preview it, pressing “Open Original” to open the full size image, then right clicking on the image and Select “Save Picture As…”. You can also receive a copy of the image by sending it to yourself on Discord. You can do this by finding the bot message that contains your finished image, clicking the emoji button to reply to the message, and selecting the envelope emoji. Your creation will then appear in your Discord inbox.
If there are any irregularities in the AI image, you can always use tools such as Photoshop or similar programs to adjust the image and fix any errors. This can be a really fun way to put your own stamp on the AI output!
As you progress in your AI art adventures, it can be helpful to try out other tools and resources. Be sure to check out our list of the best AI art generators here!
Editor’s Note: This article was written by an nft now contributor in collaboration with OpenAI’s GPT-4.

